Colormap
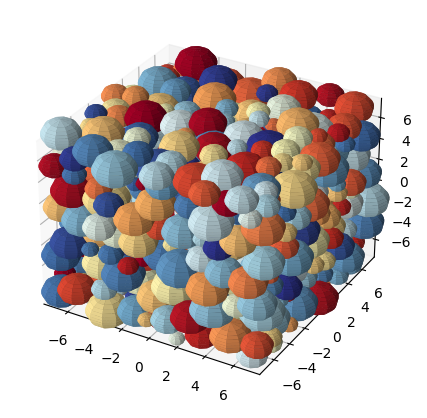
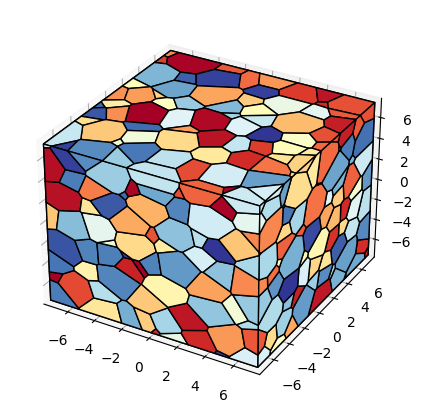
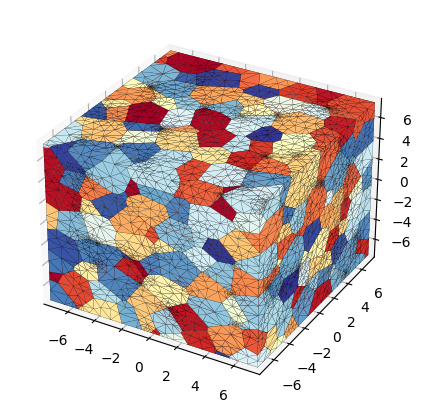
In this example, a 3D microstructure is generated with grains colored by their seed number, rather than the material.
XML Input File
The basename for this input file is colormap.xml.
The file can be run using this command:
microstructpy --demo=colormap.xml
The full text of the script is:
<?xml version="1.0" encoding="UTF-8"?>
<input>
    <material>
        <shape> sphere </shape>
        <size>
            <dist_type> uniform </dist_type>
            <loc> 1 </loc>
            <scale> 2 </scale>
        </size>
    </material>

    <domain>
        <shape> cube </shape>
        <side_length> 15 </side_length>
    </domain>

    <settings>
        <directory> colormap </directory>
        <mesh_min_angle> 15 </mesh_min_angle>
        <color_by> seed number </color_by>
        <colormap> RdYlBu </colormap>
    </settings>
</input>
Materials
There is a single material with grain sizes ranging from 1 to 3 on a uniform distribution.
Domain
The domain of the microstructure is a Cube.
The cube’s center is at the origin and its side length is 15.
Settings
The output directory is ./colormap, which contains the text files
and PNG plots of the microstructure.
The minimum dihedral angle for the mesh elements is set to 15 degrees to
ensure mesh quality.
The <color_by> option indicates how to color seeds in the output plots.
There are three values available for this option: “material”, “seed number”,
and “material number”.
The “material” value will use colors specified in each <material> field.
The “seed number” value will use the seed numbers as values for a colormap.
Similarly, “material number” will use the material number in a colormap.
The <colormap> option indicates which colormap should be used in the output
plot.
The default colormap is “viridis”, which is also the default for matplotlib.
A complete listing of available colormaps is available on the matplotlib
Choosing Colormaps in Matplotlib webpage.